Sage Before the Frost: Drying the Herbs That Carry a Sunday Gravy
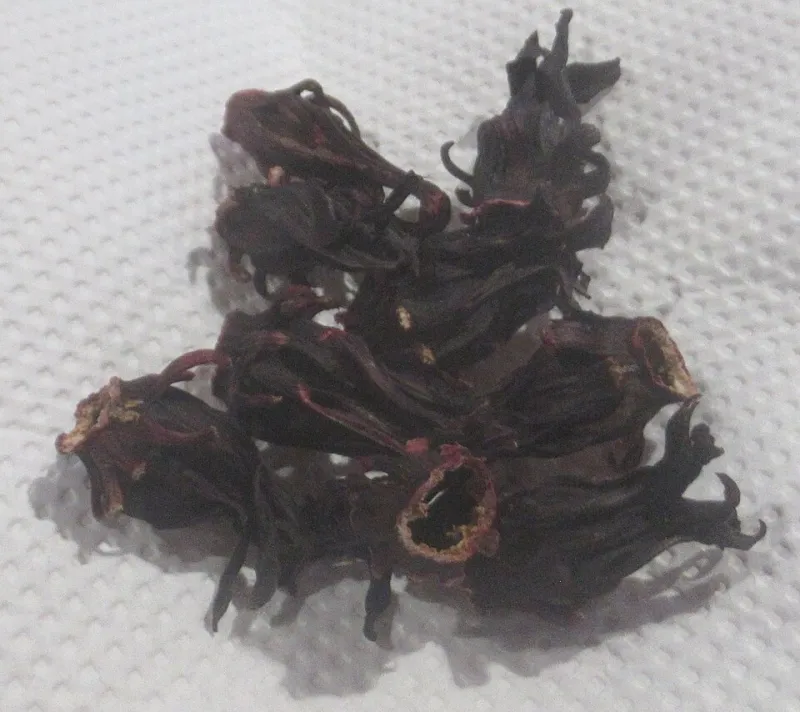
Photo: P1898, CC BY 4.0, via Wikimedia Commons
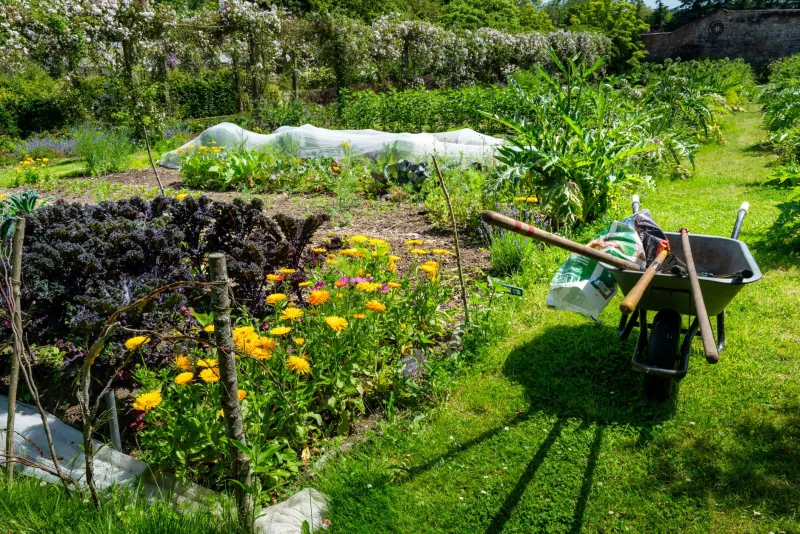
There's a week most Novembers when the herb patch quietly gives up. The basil went brown weeks ago, the parsley is bolting into something fern-like and unhelpful, and the sage leaves have gone from soft and grey-green to something closer to suede. Then the forecast mentions frost, and you realise you have maybe four days to decide what to do about it.
My answer is not a windowsill of sad little pots. It's a shelf of jars.
Pretty pots versus useful jars
A rosemary in a four-inch pot on the kitchen sill in January is decoration that needs watering. It will sulk, drop needles and generally look like it's been through something. The same rosemary, dried in October and crumbled into a roasting tin, will do more for your Sunday lunch than any number of photogenic herbs on a windowsill.
The maths is straightforward. A modest herb bed of sage, thyme, rosemary and a bay bush — even a bay in a big pot by the door — produces far more than a household can use fresh between now and March. Drying is how you bank it. It costs nothing, needs no equipment beyond string and jars, and takes up about the footprint of a shoebox.
Which herbs are worth drying, and which turn to hay
Be honest about this part, because drying the wrong things is how people end up with dusty jars they never open.
Dry these: sage, thyme, rosemary, bay, oregano and marjoram, winter savory. These are the woody, low-moisture, high-oil herbs. Their flavour concentrates rather than collapses, and a pinch goes a long way.
Don't bother drying these: basil, parsley, chives, coriander, dill, mint. They lose their point entirely — you get green dust that tastes faintly of the plant it once was. Freeze them instead. Chopped parsley and chives freeze well in a bag, and basil blitzed into oil or butter in ice cube trays will see you through to spring far more convincingly.
Picking day: timing, and the haircut rule
Go out mid-morning once the dew has lifted. Damp herbs bundle badly and can go mouldy before they've dried.
Don't wash what you pick unless it's genuinely muddy — and if you do, shake it hard and leave it spread on a tea towel for an hour first. Cut whole stems rather than picking leaf by leaf; you want something long enough to bundle and hang.
Then the important bit: give the plant a haircut, not a scalping. Thyme and sage will bounce back from a decent trim in spring. Rosemary is slower and won't regrow from bare old wood, so leave a good third of the bush alone and don't cut into the brown stems. Bay, meanwhile, will happily shrug off a light thinning. Take what you need and leave the shape of the plant intact.
Bundling, bagging and the airing cupboard
Small bundles, tied with string, hung somewhere warm, dark and airy. The airing cupboard is the classic and it still works. A spare room with the window cracked open works too, as does a dry shed loft, as long as it isn't cold and damp enough to encourage mildew.
For anything that sheds — thyme mostly — slip a paper bag over the bundle, punch a few holes in it and tie it around the stems. The leaves drop into the bag rather than onto the floor.
Give it one to two weeks. If you're short of space or in a hurry, a fan oven on its lowest setting with the door propped open will do it in an hour or two, and a dehydrator is faster still. Bay is the exception: it dries best laid flat on a rack or between sheets of newspaper, and it takes longer than you think.
The crinkle test
Pick up a stem and bend it. If it snaps cleanly, it's done. If it flexes like a bit of old leather, it needs longer. Crumble a leaf between your fingers — it should break, not squish.
Pack whole leaves and stems into clean, dry jars rather than crumbling them now. They hold their oils better intact, and you can crush what you need at the moment you cook. Label with the herb and the month. It sounds fussy; it isn't, and in February you'll be glad you know which jar is which.
Building the gravy shelf
This is where it stops being preservation and starts being cooking. A useful kit is smaller than people expect:
- A roast jar. Roughly three parts thyme, two parts sage, one part rosemary, plus a couple of crumbled bay leaves. Rub it into a chicken before it goes in the oven, or stir a teaspoon into the roasting tin with the stock.
- Bouquet garni. Small bundles of thyme, bay and parsley stalks tied in muslin or tucked into a paper tea bag with a few peppercorns. Drop one into a stew, a casserole or a pot of lentils and fish it out at the end.
- Sage and onion mix. Dried sage crumbled with salt, for stuffing and for the bread sauce you'll want in December.
- Rosemary salt. Blitz dried rosemary with flaky salt and keep it in a small jar by the hob. It transforms roast potatoes and does something excellent to a pork chop.
Where it goes beyond Sunday lunch
Gravy is the obvious home for all of this, but it isn't the only one. A bay leaf and a few peppercorns in the milk for bread sauce. Thyme in a sausage and bean casserole on a wet Tuesday. Sage in a squash and butter bean traybake. Rosemary pushed under the skin of a joint.
And when the gravy is made and the jars are back on the shelf, you've got something better than a windowsill display: eight or nine weeks of cooking that tastes like your own garden, in a space not much bigger than a shoebox.
Check the forecast tonight. If there's frost in it, that's your cue.